
Post Summary
This blog post is a beginner-friendly guide to photography that breaks down both the technical and creative sides of taking better photos. It covers manual mode, the exposure triangle (ISO, aperture, and shutter speed), composition and framing, and the basics of color theory using the color wheel.
Along with the fundamentals, it shares real experiences and advice from flash photography, sports photography, and editing workflows, including how to de-noise multiple photos in Photoshop. Most importantly, it emphasizes that photography isn’t about having the best camera, but about developing your creative eye, learning from mistakes, and growing with every shot you take.
Table of Contents
- Introduction
- Manual Mode Photography
- The Exposure Triangle (IS0, Aperture, Shutter Speed)
- Composition & Framing Basics
- Understanding Color Theory
- Finding Inspiration for Shoots
- My Mistakes & What They Taught Me
- Flash Photography
- Sports Photography
- 10+ Tips Every Beginner Photographer Should Know
- Editing & De-Noising in Photoshop
- Final Thoughts
Introduction
I’ve been keeping this low-key on Instagram, but I’ve slowly been gaining experience as a photographer.
I know, cue the eye roll. Everyone feels like a photographer these days with iPhones, Samsungs, Y2K digital cameras, disposables, and Polaroids. But there’s a real art to making photos look intentional and professional, not just taken.
I’m by no means an expert yet, but with my semester long photography class officially ending this month, I wanted to share what I’ve learned so far. This is a reflection on my journey, what I need to improve, and how you can start your own photography journey too.
Manual Mode Photography
Manual mode sounds scary and unfamiliar at first, but once you understand it, it becomes one of the most powerful tools you can use. It gives you full creative control over how your images look instead of letting your camera decide everything for you.
To use manual mode confidently, you just need to understand how the three main settings work together. Once you do, your camera stops feeling intimidating and starts feeling like an extension of your creativity.
Why Knowing All Three Is So Important
ISO, aperture, and shutter speed work together like a team. Known as the exposure triangle. If you change one, you usually need to adjust one of the others to keep your photo’s exposer balanced.

ISO: How Sensitive Your Camera Is to Light
Think of ISO as your camera’s “light sensitivity” setting. It controls how bright or dark your photo will look based on how sensitive the camera sensor is to light.
Low ISO (like 100–200) means your camera will be less sensitive to light. This is perfect for bright, sunny days or well-lit spaces. Your photos will look clean, crisp, and sharp.
High ISO (like 1600–6400 or higher) makes your camera very sensitive to light, which helps in darker situations like night shots, concerts, or cozy indoor lighting.
The catch? The higher your ISO, the more “grainy” or “noisy” your photo can look. That grain can be cool and artsy sometimes, but too much of it can make your image look blurry or messy.
Although this can sometimes be fixed in editing:
It’s not ideal.
Stay till the end for how to reduce noise in your photos in editing!
Why ISO matters:
ISO helps you shoot in almost any lighting situation. Knowing how to adjust it means you won’t be stuck with photos that are too dark or unusable. It gives you flexibility when lighting isn’t perfect (which is most of the time).
Aperture: How Wide Your Lens Opens
Aperture is basically how wide your lens opens to let light in. Imagine your eye: in bright light your pupil is small, and in the dark it gets bigger. Aperture works the same way.
It’s measured in f-numbers like f/1.8, f/4, f/8, etc. This part feels backwards at first:
- Small number (f/1.8) = big opening = lots of light
- Big number (f/16) = small opening = less light
But aperture does more than control light. It also affects depth of field, which is how blurry or sharp the background is:
- Low f-stop (like f/1.8): blurry background, dreamy, portrait vibes
- High f-stop (like f/11): everything in focus, great for landscapes


Why aperture matters:
Aperture is how you control the mood of your photo. It decides whether your subject stands out against a soft background or blends into a sharp, detailed scene. It’s a huge part of creating that “professional” look.
Shutter Speed: How Long Light Enters Your Camera
Shutter speed is how long your camera’s shutter stays open to let light hit the sensor. It’s measured in fractions of a second or full seconds.
Fast shutter speed (like 1/1000):
- Freezes motion
- Great for sports, dancing, or action shots
Slow shutter speed (like 1/10 or 2 seconds):
- Lets in more light
- Creates motion blur / creative shots
- Perfect for light trails, waterfalls, or dreamy movement

Basically, shutter speed controls whether motion is frozen in time or shown as movement.
Why shutter speed matters:
It decides how your photo feels and looks. Sharp and energetic? Or soft and flowing? Knowing shutter speed lets you turn motion into a creative tool instead of just a snapshot in time.
*All photos taken or creatively directed by me*
Once you understand how all 3 work together you stop guessing and start creating on purpose. You’ll know:
- How to shoot in any lighting
- How to get blurry backgrounds
- How to freeze or show motion
- How to make your photos match your vibe
It’s the difference between taking pictures and making them.
But their are instances when using the other special modes on your camera is more efficient witch we will get into later.
But once you understand the exposer triangle its good to know how to frame and compose your pictures.
Composition & Framing Basics
(Why Learning Composition Changes Everything)
Composition and framing are what turn photos into visual stories. They help you:
- Direct attention
- Create mood
- Add emotion
- Make your images feel intentional
Here are just a few we focused on in my class with pictures I took practicing representing each one:
Symmetry
Symmetry is when both sides of your photo look balanced and mirrored. Think equally distanced from each other and the camera, and not just with the same exact objects.

Photographers use symmetry to create a sense of order and harmony. It naturally draws the eye to the center of the image.
Why it’s helpful:
Practicing symmetry trains your eye to notice balance in the world. Helping your photos feel intentional and visually pleasing instead of random.
Asymmetry
Asymmetry is imbalance; not perfectly equal. One side might be “heavier” visually, but the image still feels stable. Think of one object as farther away and one closer.
This is great for more dynamic, interesting photos. It feels natural and a little unpredictable, like real life.
Why it’s helpful:
It teaches you how to create balance without needing perfection. Your photos feel more creative and emotionally engaging.
Rule of Thirds
Imagine your image divided into a 3×3 grid. Place your subject along one of the lines or at an intersection point instead of dead center.

This makes photos feel more dynamic and less static. Most phone cameras even have this grid option built in.
Why it’s helpful:
It’s the easiest way to instantly make your photos look more professional and visually interesting.
Vantage Point (Point of View)
This is about where you take the photo from. High, low, close, far, tilted, straight-on—each one tells a different story.
Shooting from above can make something feel small or gentle. Shooting from below can make it feel powerful.
Why it’s helpful:
It pushes you to move your body, not just your camera. Changing your angle can completely change the mood of your photo.
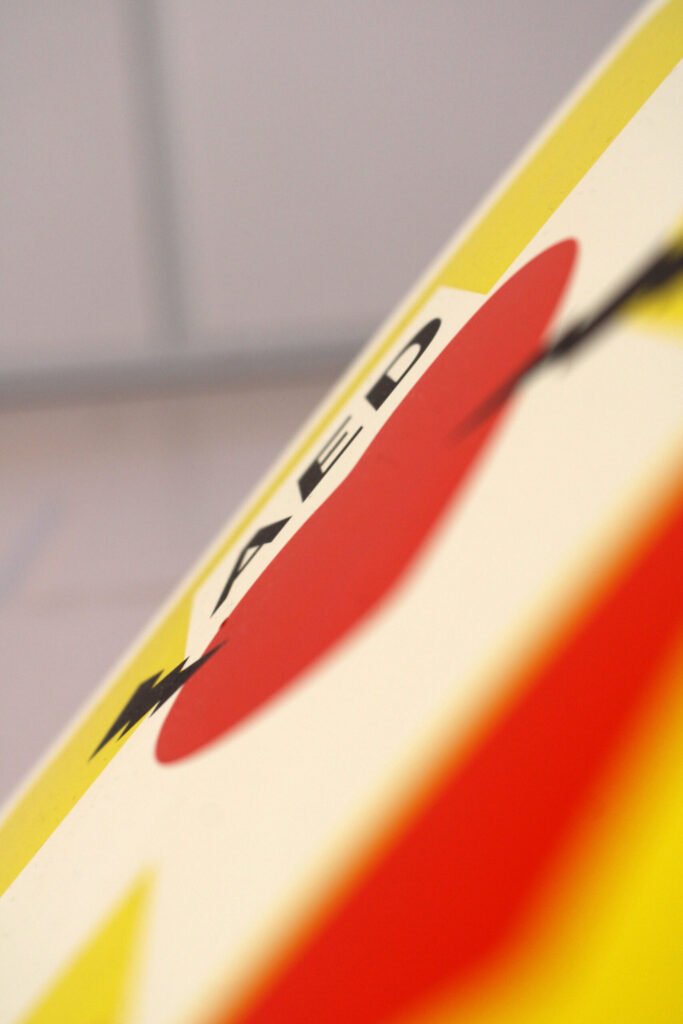
Cropping
Cropping is deciding what stays in the frame and what gets cut out. It can happen while shooting or later in editing.

Another way to view cropping is focusing so closely on one part of a subject that it is unidentifiable of where it comes from. This brings out the hidden details of the subject.
It helps remove distractions and brings attention to what actually matters.
Why it’s helpful:
It teaches you to simplify and focus. A strong crop can turn an okay photo into a powerful one.
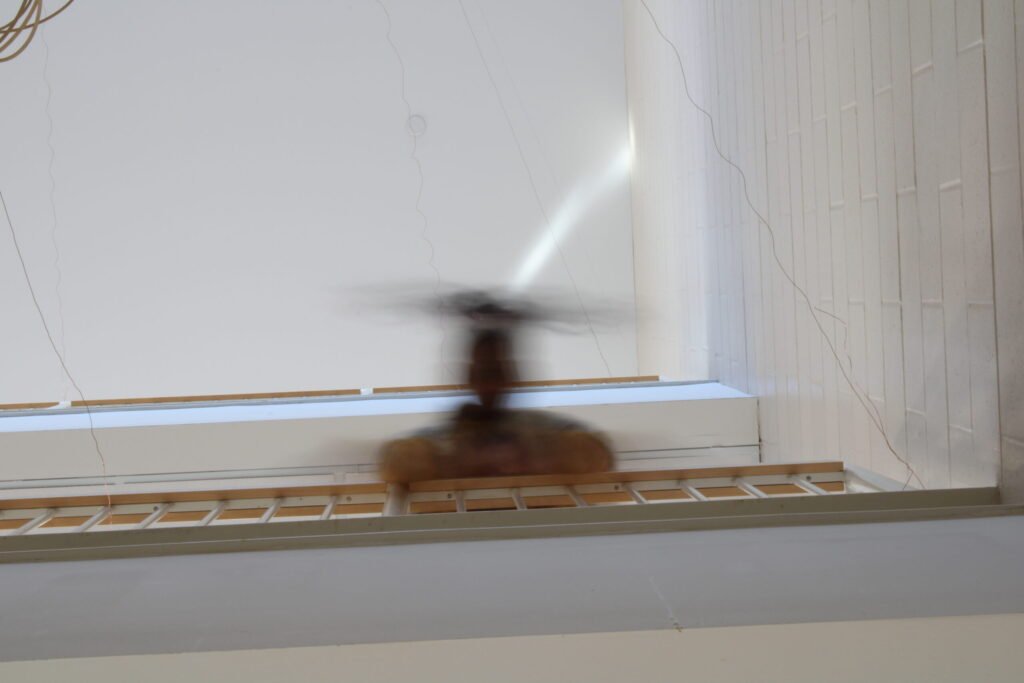
Repetition
Repetition is when similar shapes, colors, or objects appear over and over in a photo—like windows on a building or chairs in a row.

It creates rhythm and visual flow. Our eyes love patterns.
But what makes one even better is when their is one thing obstructing the pattern that give your eye’s a break and opportunity to appreciate it.
Why it’s helpful:
It helps you notice structure and design in everyday life and use it creatively.
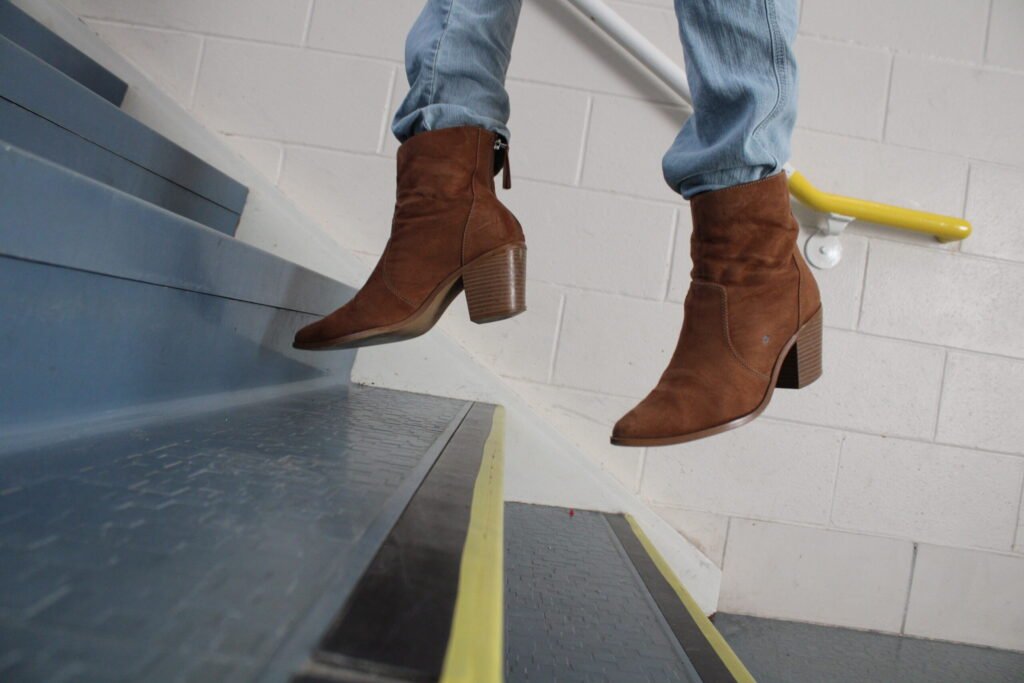
Leading Lines
Leading lines are lines that guide the viewer’s eye toward your subject. Roads, fences, stairs, shadows, and hallways work great.

They make your photo feel deeper and more immersive.
Why it’s helpful:
They teach you how to control where people look in your image. That’s powerful storytelling.
Simplicity
Simplicity is about keeping your photo clean and uncluttered. One main subject, minimal distractions.

Simple photos feel bold and emotional because nothing competes for attention.
Why it’s helpful:
It trains you to be intentional and thoughtful instead of including everything in one shot.
Frame Within a Frame
This is when you use something inside the scene (like a window, doorway, or branches) to frame your subject.

It adds depth and makes your photo feel layered and cinematic.
Why it’s helpful:
It teaches you to use your environment creatively instead of just photographing it.
Implied Lines
Implied lines aren’t physical lines, but ones created by where people look, where objects point, or how shapes line up.
For example, if a person is looking off-camera, your eyes naturally follow their gaze.

Why it’s helpful:
It helps you understand subtle storytelling. You guide emotion and attention without obvious tools.
You don’t need to use all of these at once. The magic happens when you start recognizing them naturally and choosing which one fits the feeling you want. That’s when photography stops being about settings and starts being about expression.
Using the color wheel can be useful as well.
Understanding COLOR Theory
The color wheel is basically a map of how colors relate to each other. It shows all the main colors arranged in a circle so you can see which ones naturally work well together and which ones create contrast.
Once you understand it, choosing colors becomes way more intentional instead of just “whatever looks nice.”

The wheel starts with three main groups:
- Primary colors: red, blue, yellow
- Secondary colors: green, orange, purple (made by mixing primaries)
- Tertiary colors: colors in between, like red-orange or blue-green
Photographers, designers, artists, and even fashion stylists use the color wheel because color controls mood, emotion, and attention. It’s one of the strongest storytelling tools you have.
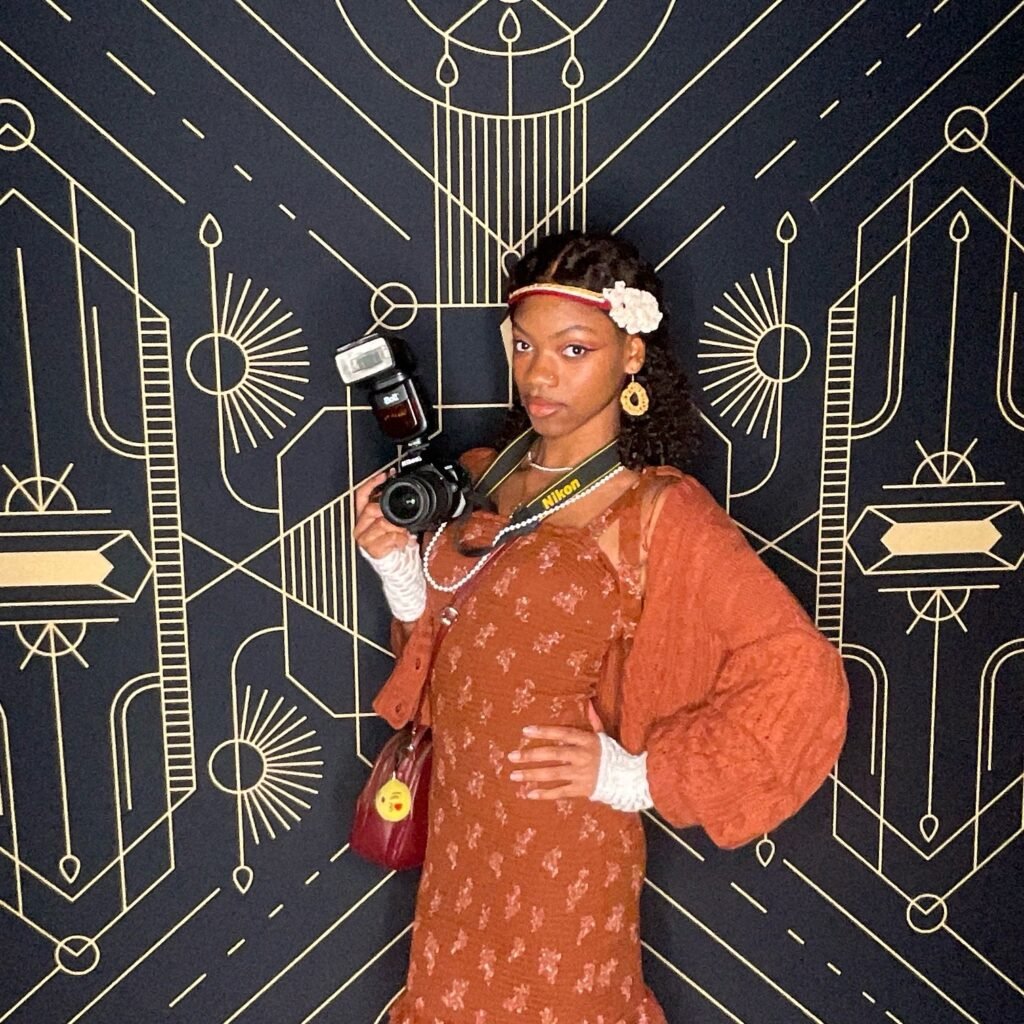
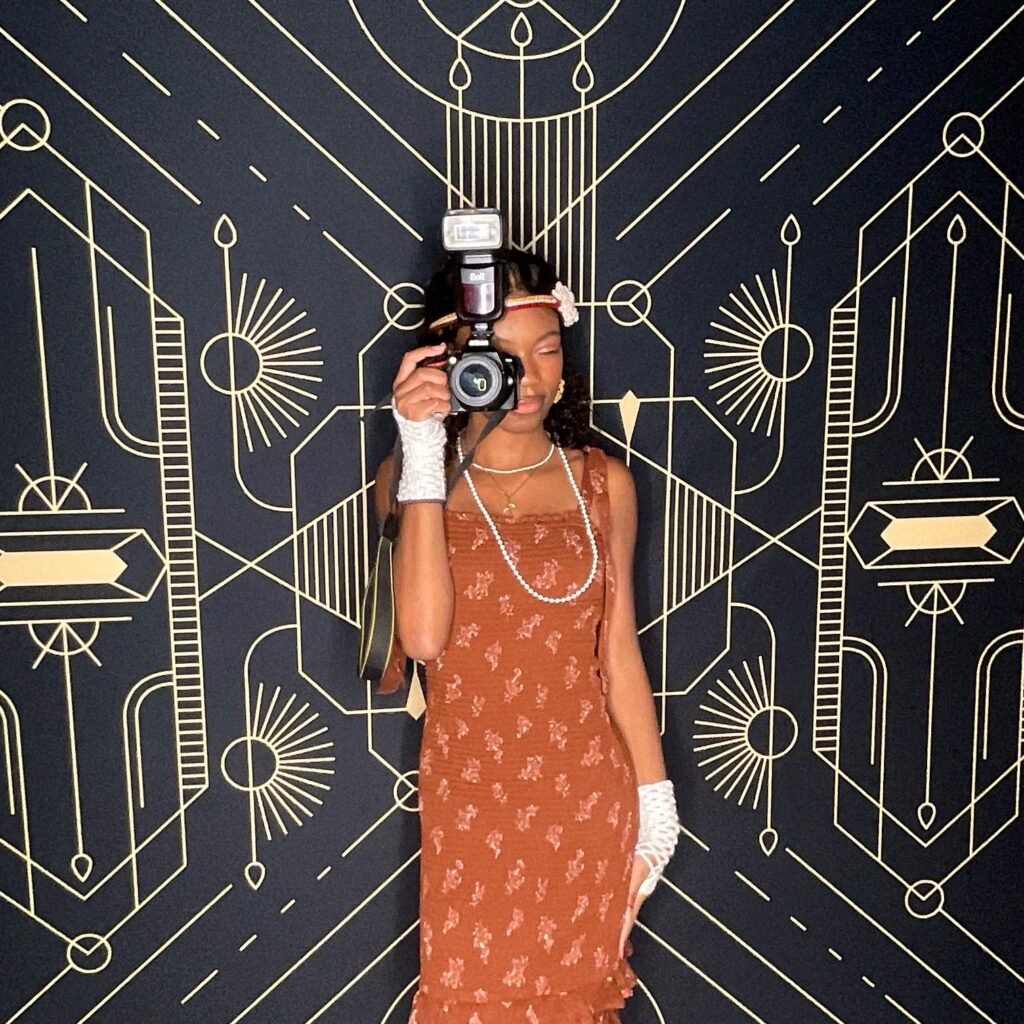
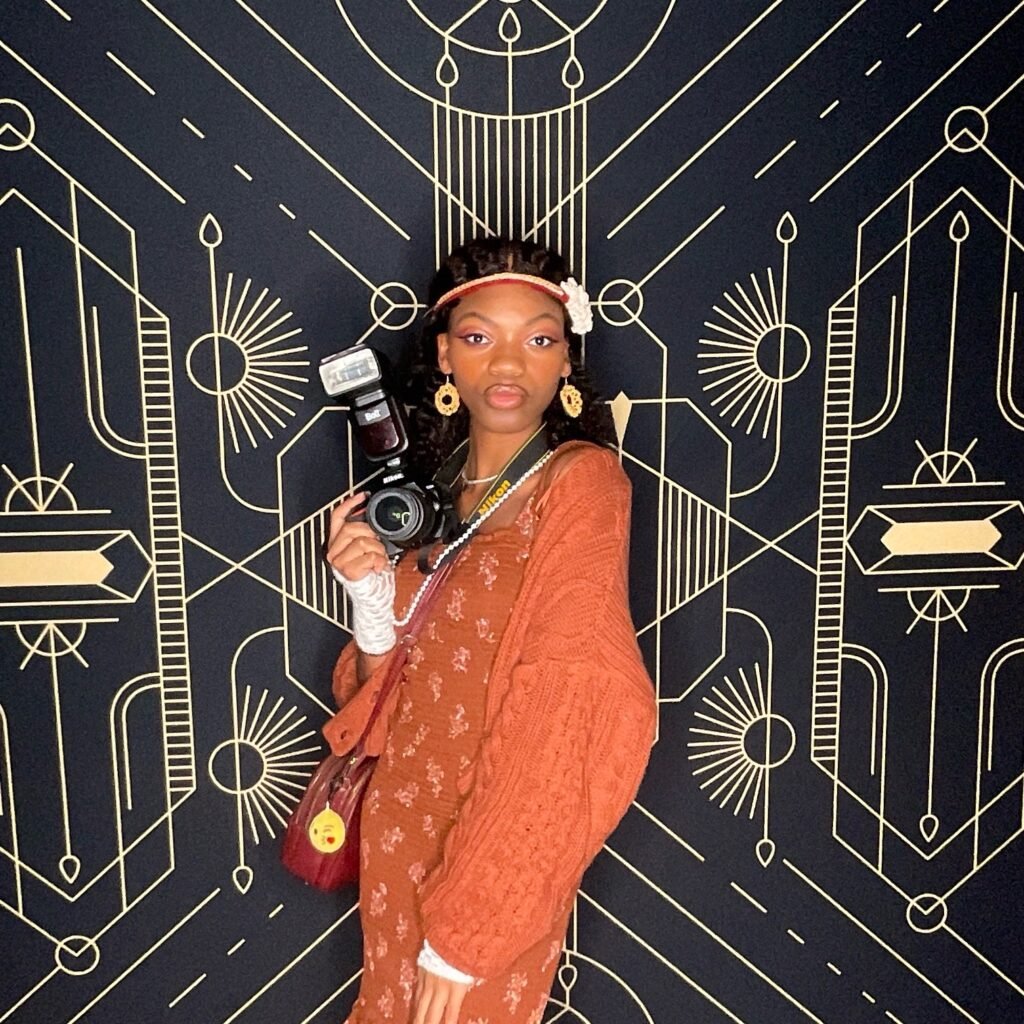
Color combinations commonly used ft. my own photo examples:
Complementary Colors
These are colors that sit directly opposite each other on the wheel, like:
- Blue & orange
- Red & green
- Yellow & purple

They create strong contrast and make each other pop. That’s why they’re so eye-catching. If you’ve ever seen a photo where the subject just jumps out, chances are complementary colors were involved.
How they’re used:
- To create drama and energy
- To highlight your subject
- To make photos feel bold and vibrant
Why they matter:
They help your image stand out. You can use them when you want impact, tension, or high visual interest.
Analogous Colors
These are colors that sit next to each other on the wheel, like:
- Blue, blue-green, green
- Red, red-orange, orange

They feel calm, natural, and harmonious because they blend easily together.
How they’re used:
- For soft, dreamy, or peaceful vibes
- In nature photography, lifestyle, and branding
- When you want everything to feel connected
Why they matter:
They help your photos feel cohesive and emotionally smooth instead of visually chaotic.
Triadic Colors
Triadic color schemes use three colors evenly spaced around the wheel, like:
- Red, blue, yellow
- Purple, green, orange

They’re colorful but still balanced when used correctly.
How they’re used:
- To create playful, creative, energetic images
- In fashion, editorial shoots, and branding
- When you want variety without losing harmony
Why they matter:
They give you flexibility. You get contrast and balance at the same time.
Monochromatic Colors
When you hear this one you might think it’s only for black and white, but it’s the use of different shades, tints, and tones of any single color.
For example: all blues, but light blue, navy, dusty blue, etc.
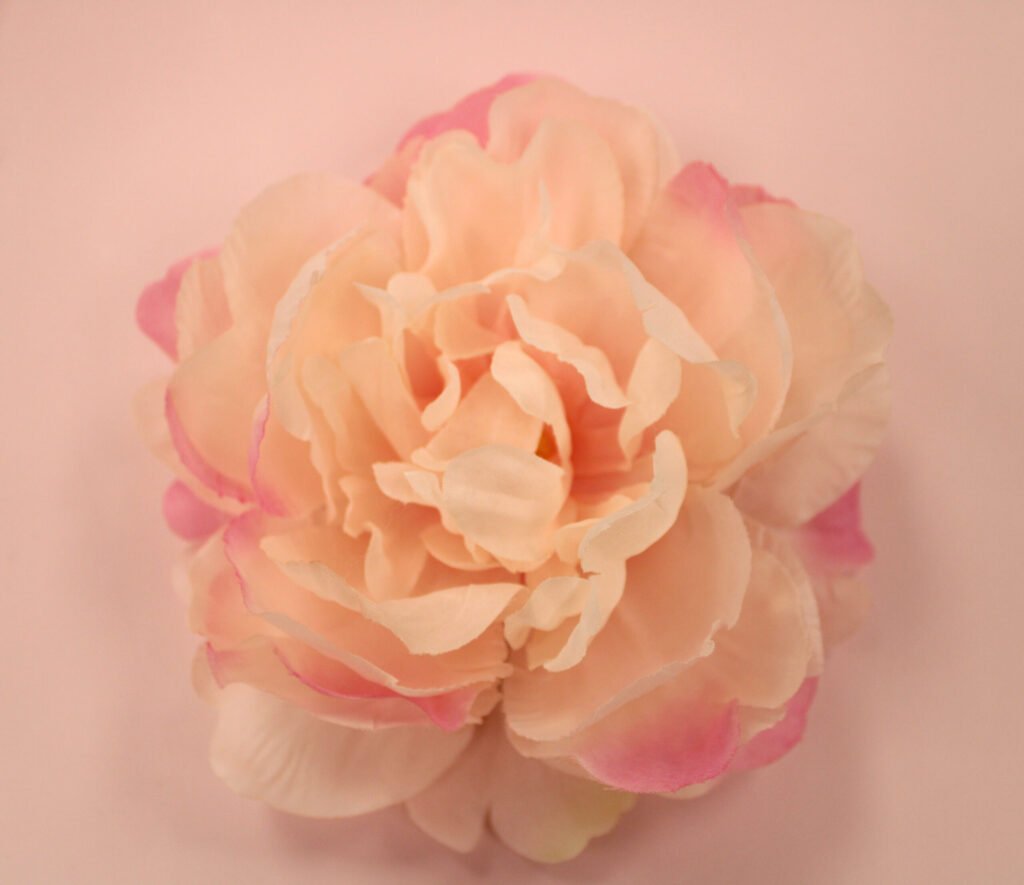
How they’re used:
- To create a minimal, aesthetic look
- For emotional depth and elegance
- To make images feel clean and intentional
Why they matter:
They prove you don’t need lots of colors to be powerful. Subtle shifts can be just as expressive.
Why the Color Wheel Is So Important
Individual colors each have their own meanings and emotions tied to them as well. Understanding these can help you choose which colors best match the mood and style you’re going for, both while shooting and during editing.
The color wheel helps you:
- Create mood and emotion
- Guide attention
- Build brand identity
- Keep your visuals cohesive
- Make your work look professional and intentional
Instead of guessing, you’re choosing. Instead of chaos, you have harmony.
Color is one of the first things people feel before they even understand what they’re seeing. When you learn how to use the color wheel, you stop just capturing moments and start curating experiences.
Finding Inspiration for Photoshoots
Sometimes you’re not even stuck on how to take photos, but on what to take photos of. When that happens, inspiration will be your savior.
Our good friend Pinterest, is always a great place to start, but it’s definitely not the only platform where you can find creative ideas and learn from other photographers’ work.
btw. you should follow us on Pinterest @theanomalysjournal to get updates /reminders on when new posts are released!
Another great option is Cosmos.so, which is very similar to Pinterest but has a more curated, artist-focused aesthetic. It feels a little more intentional and creative, which can be really inspiring when you want something different from the usual feed.
Other platforms to explore include:
- Instagram – Perfect for discovering photographers, trends, editing styles, and visual storytelling.
- Behance – More professional and portfolio-based. Great for studying high-quality work and full creative projects. (Requires an Adobe account.)
- Unsplash – A huge collection of free stock photos that you can use and study for composition, lighting, and color.
- Pexels – Similar to Unsplash, with free high-quality photos and videos for inspiration or practice.
- Photographers Website Portfolios
Using these platforms isn’t about copying. It’s about studying:
- Lighting
- Color
- Composition
- Mood
- Storytelling
Then taking what inspires you and turning it into something that feels like you.
btw this is NOT sponsored or include any affiliate links just useful info.
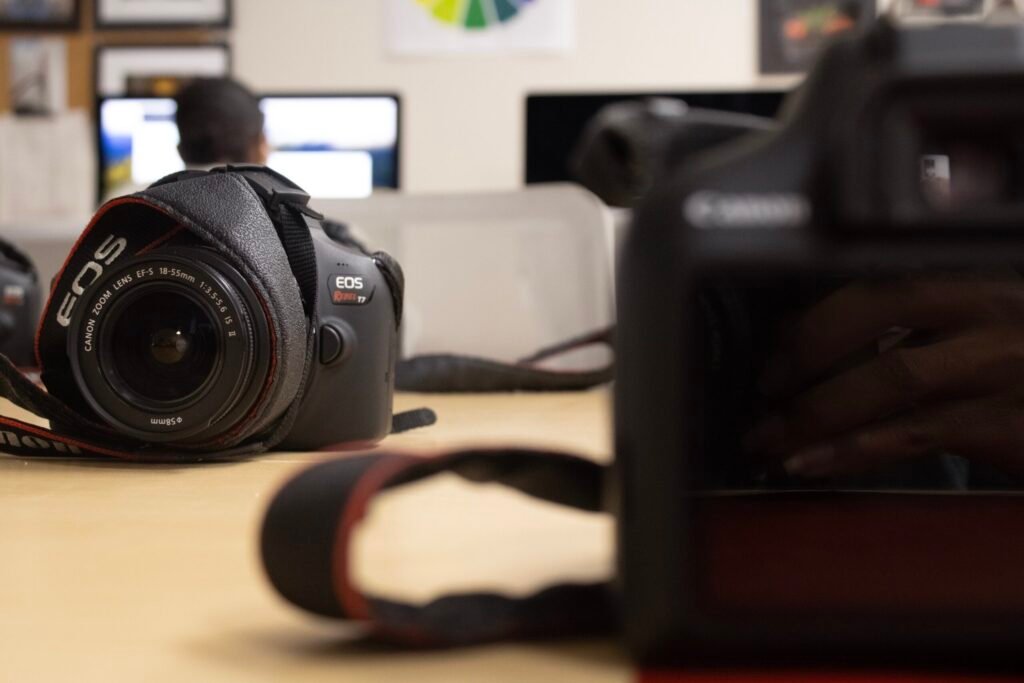
My Mistakes & What They Taught Me
After first ever picking up a DSLR camera about five months ago, I can tell you there is still so much I need to improve on myself. But these are some of the biggest mistakes I’ve made and the most important things I’ve learned along the way that might help you.
Flash Photography
Last October I got the opportunity to photograph my school’s homecoming dance with no prior experience. I had only been practicing photography for about 1.5 months, had never worked with flash before, and was also using a completely different brand of camera than the one I had trained on.
I searched everywhere for answers: Pinterest, YouTube, Instagram, anything that could tell me the “best” settings for dances, weddings, dark events, and flash photography.
But what I learned is that you can watch all the videos you want—nothing replaces physically being there and working through it yourself.


Later on, I realized many of my photos were either overexposed or underexposed. The exposure changed depending on:
- How far my subject was from the camera
- The angle and direction of the flash
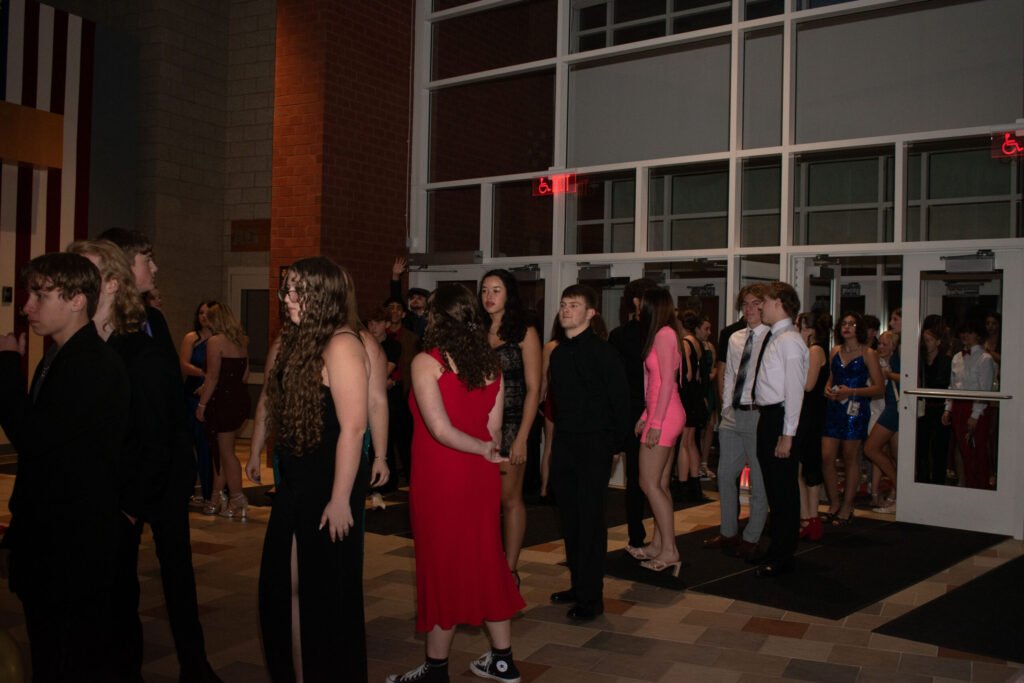

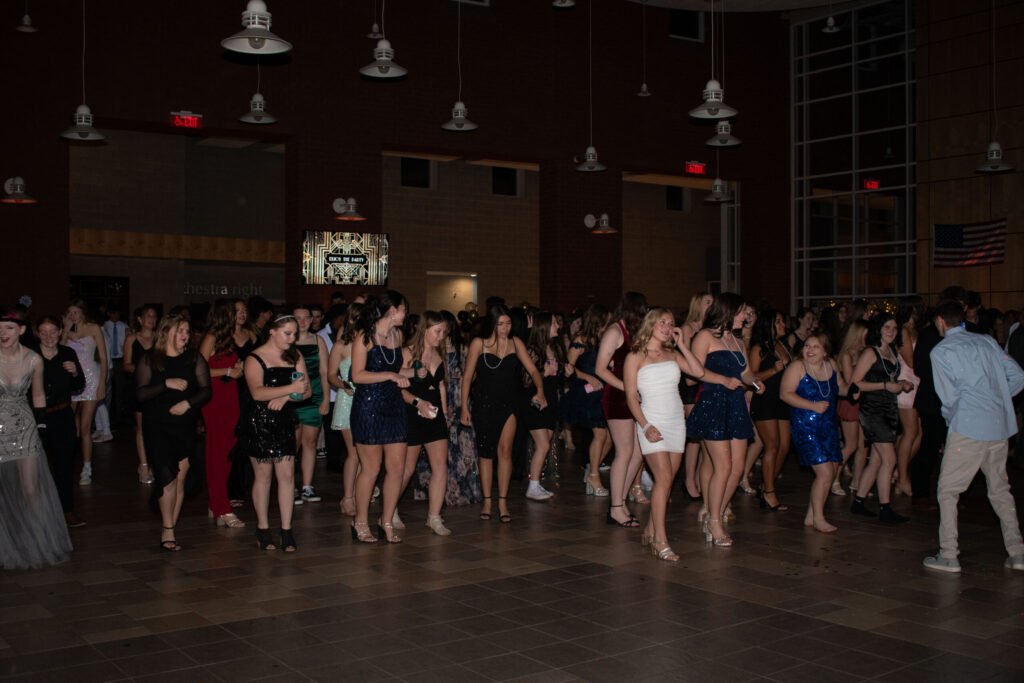
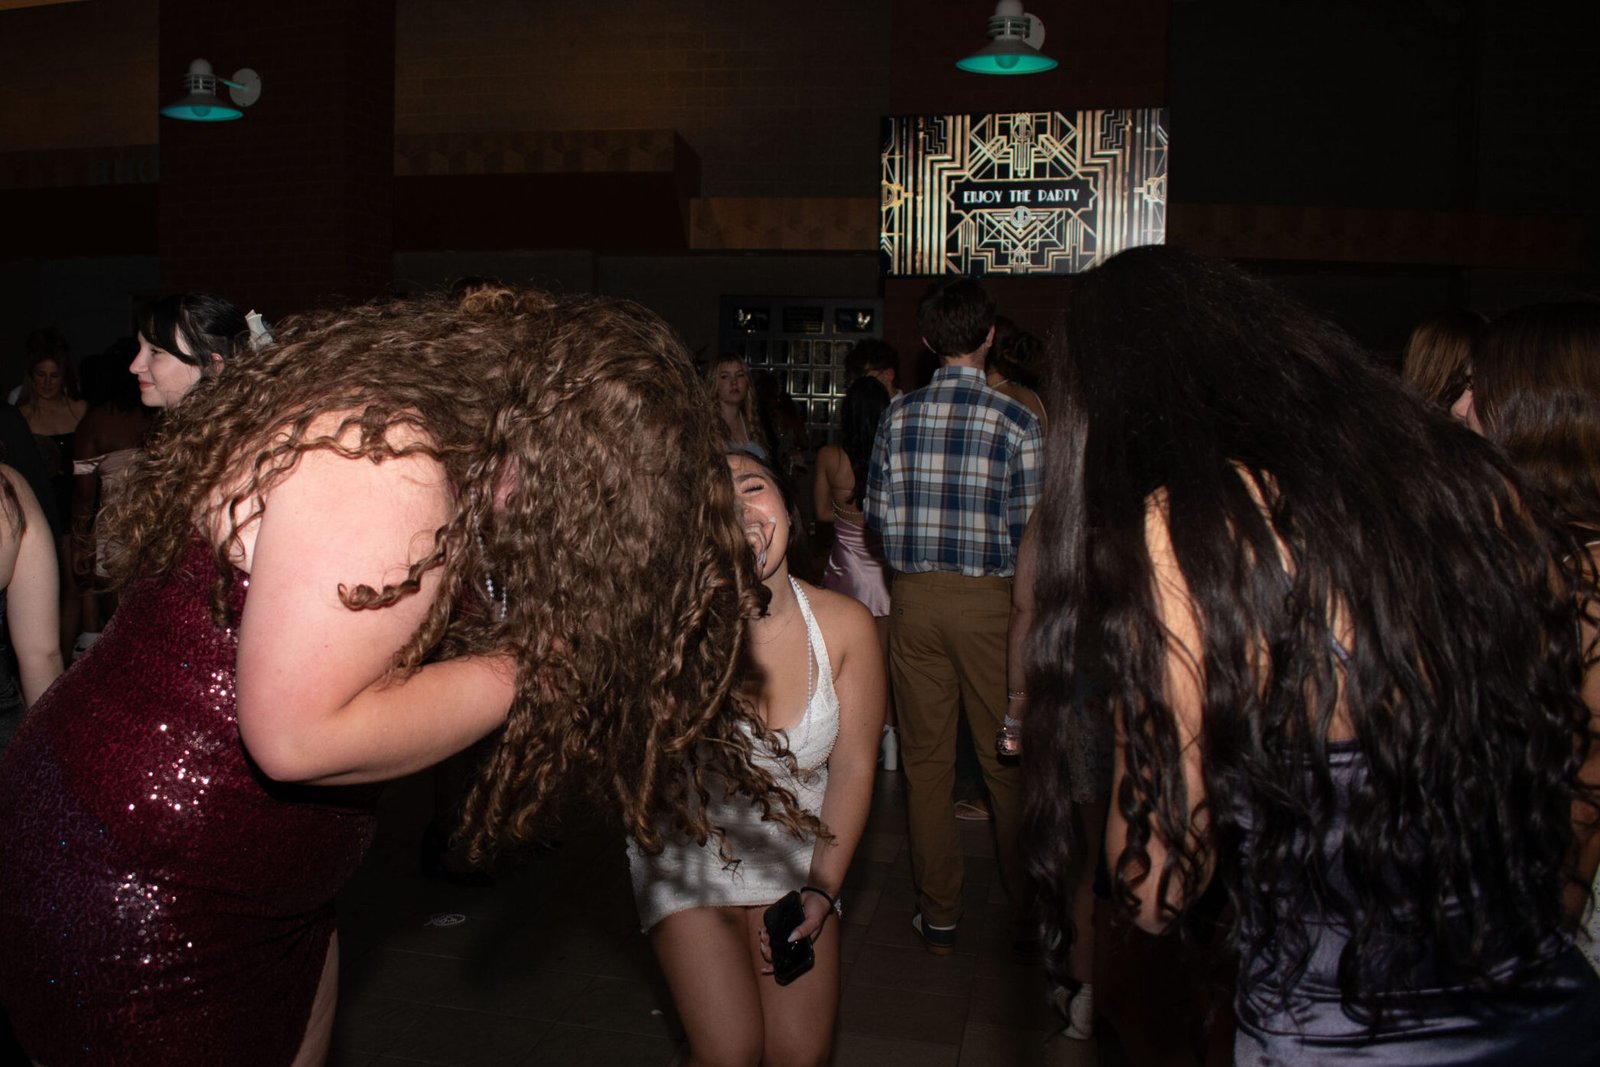
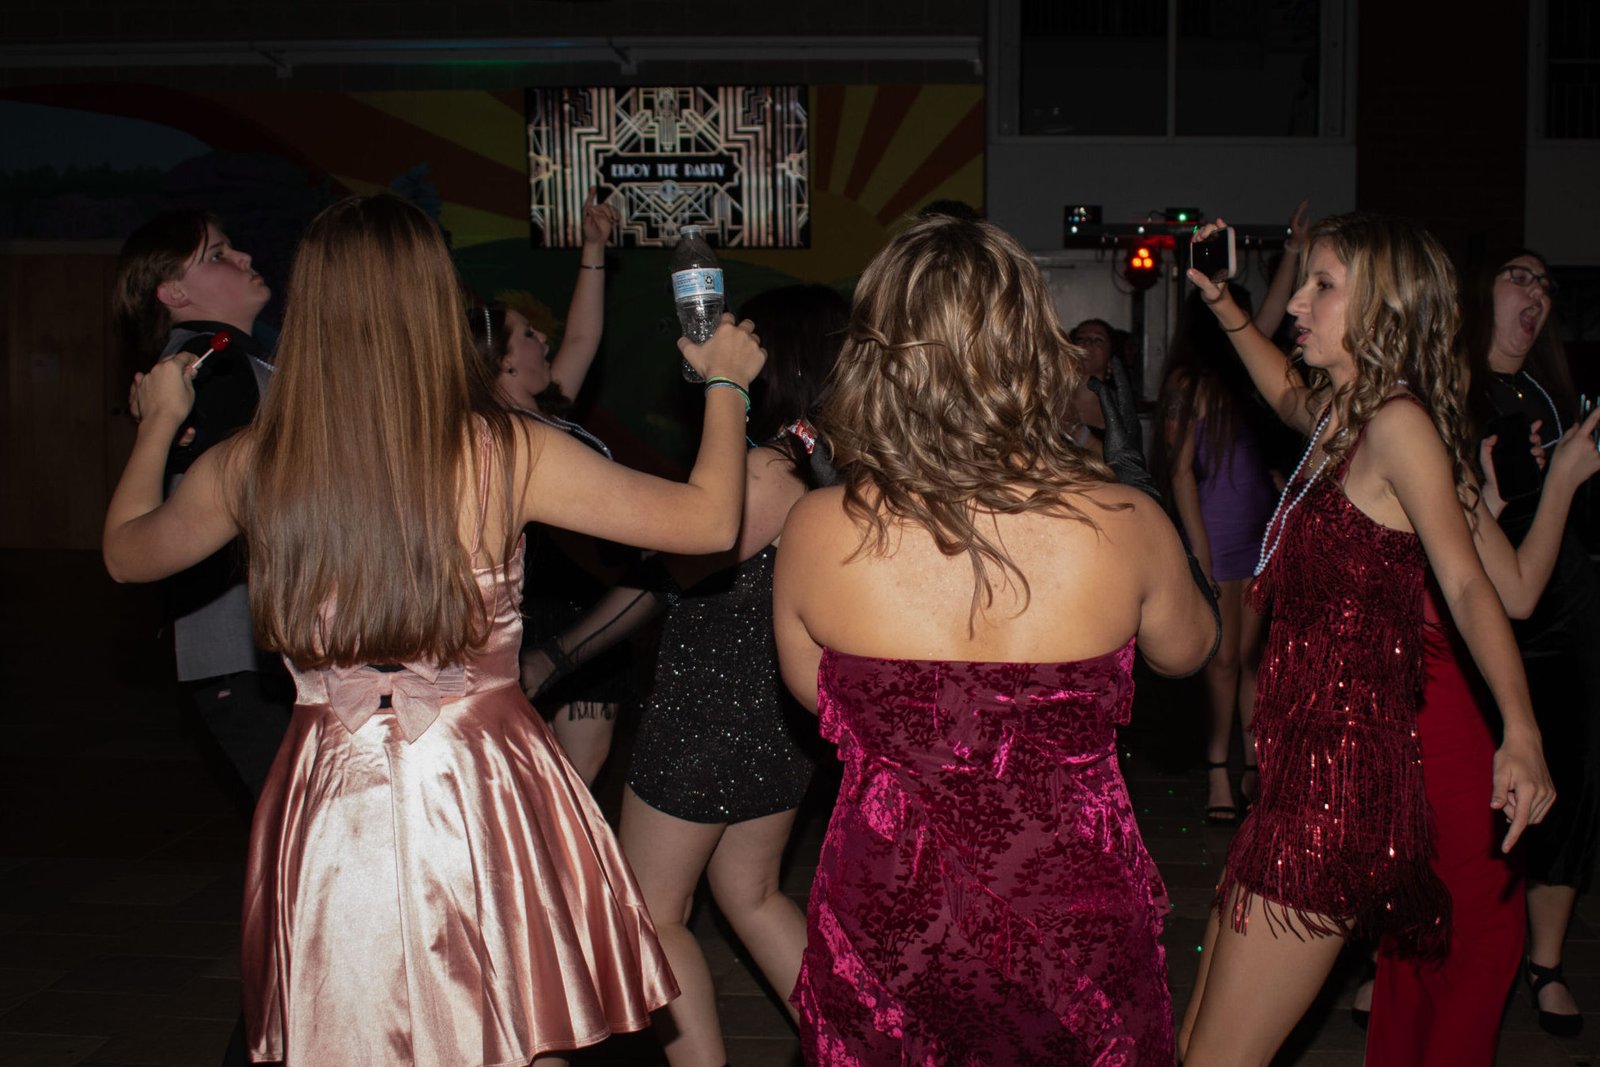
It’s basic knowledge (and something you’ll see everywhere) that when a flash points directly at someone’s face, the light is much harsher. When you bounce it off a wall or ceiling instead, the light becomes softer and far more flattering.
My biggest mistake was thinking my camera settings were the main problem, which led me to constantly adjust them, when the real issue was how I was aiming my flash.
For future dances or any event photography that requires flash, I would suggest:
- Use a fast shutter speed to freeze motion (around 1/300 or higher)
- Use an aperture of f/5.6 or lower
- Set ISO to Auto
- Setting your base camera settings so your light meter reads close to or slightly below 0
- Turn autofocus on
Once your base is set, your main focus should be adjusting the direction of your flash:
- Straight on for quick documentation
- Bounced for softer, more professional-looking light
- Adjust based on close-ups, full body shots, and wide angles
Your flash (aka main light source) is just as important as your camera.
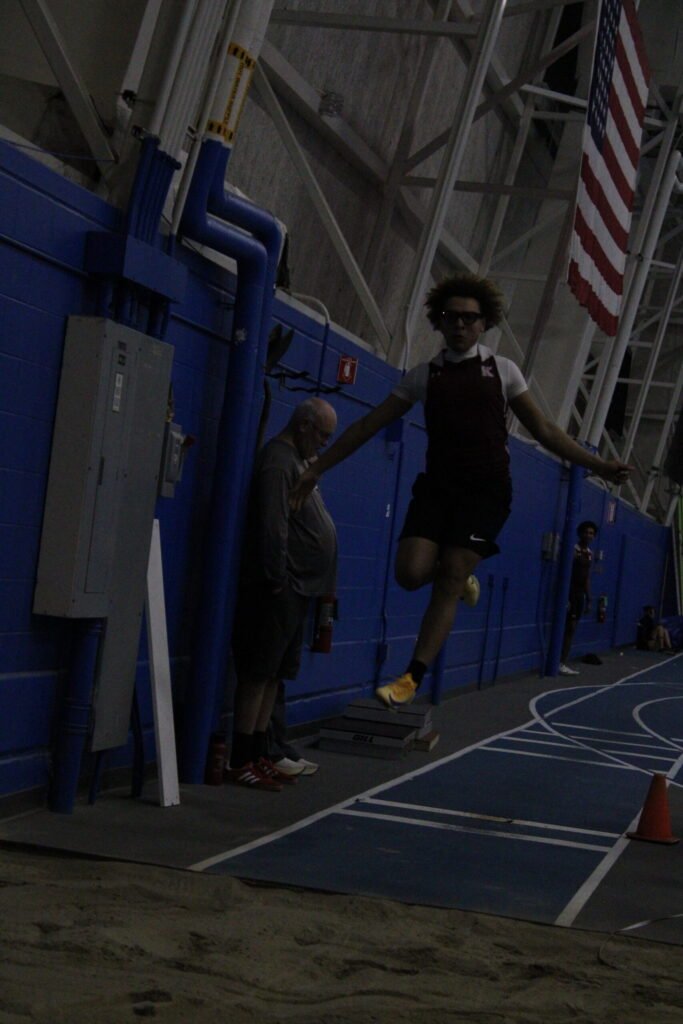
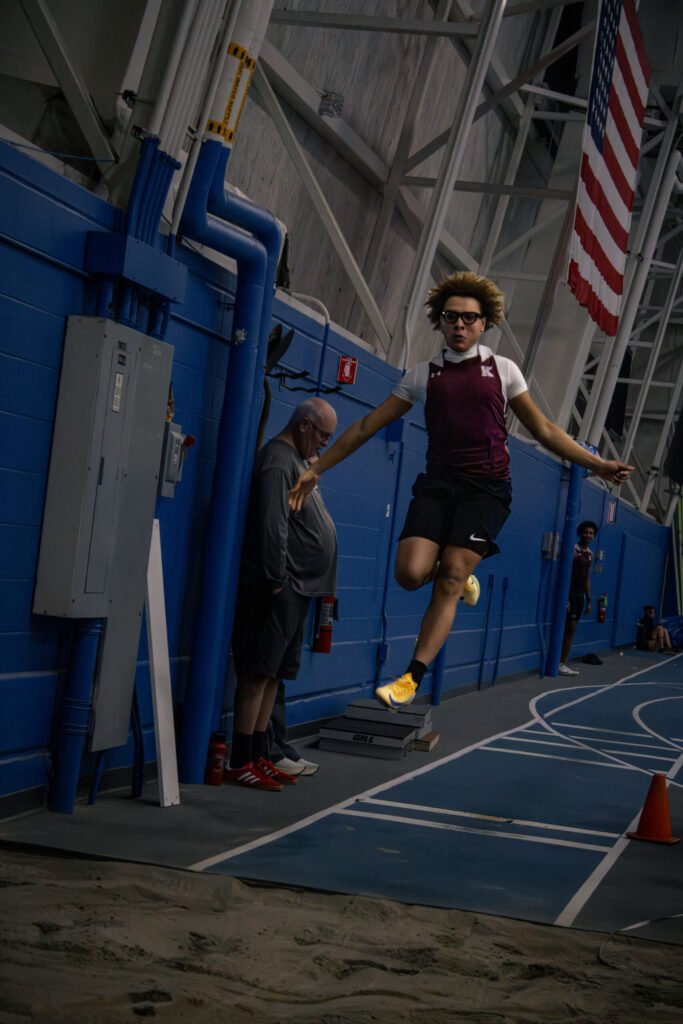
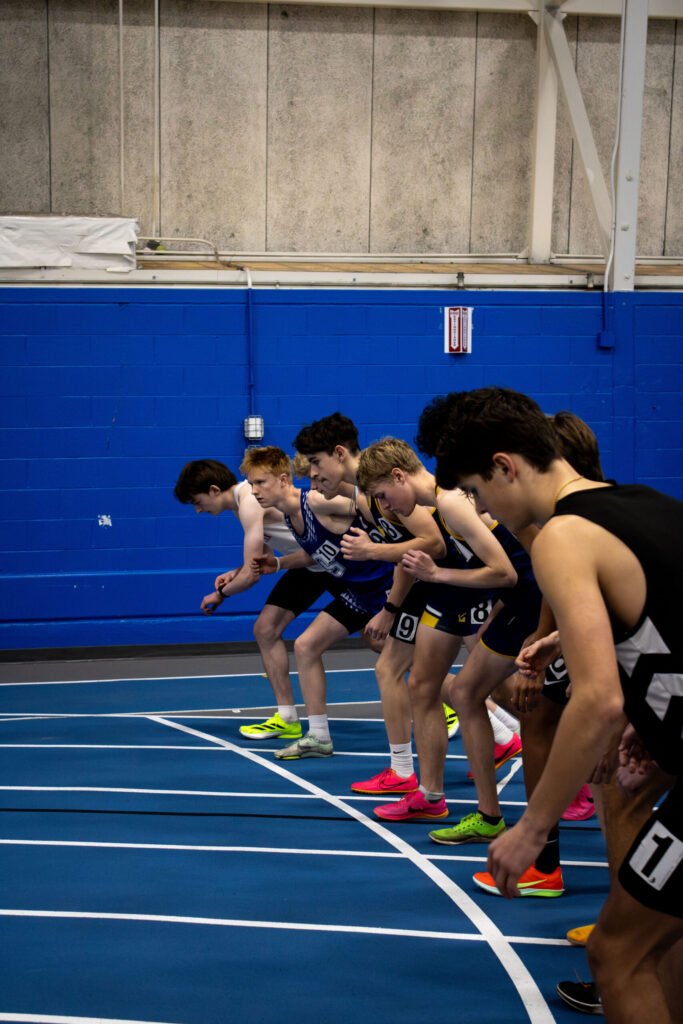
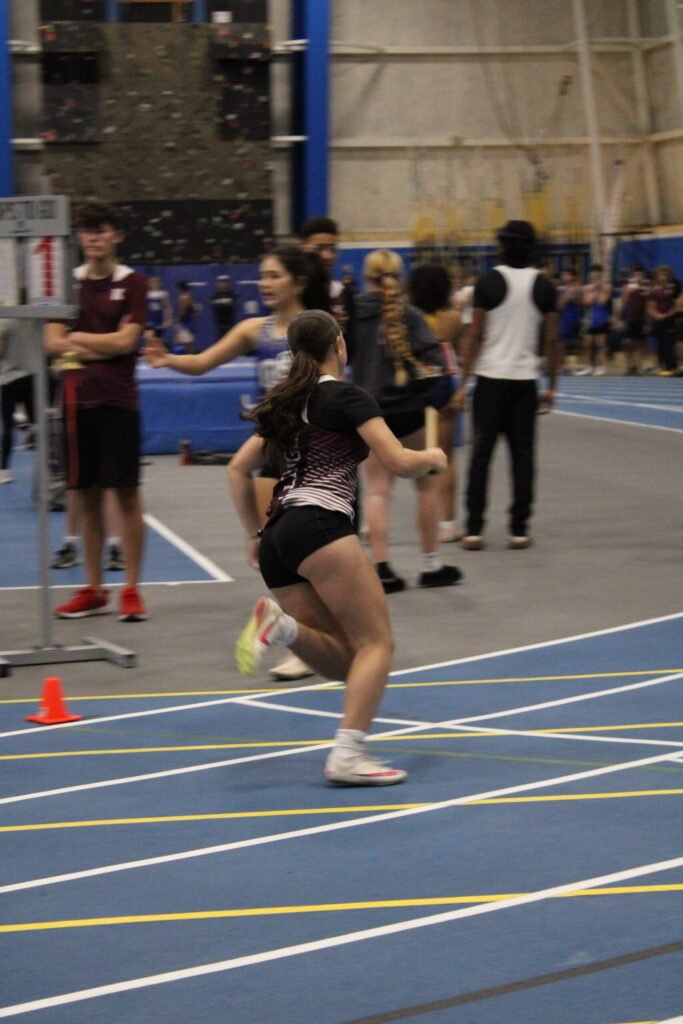
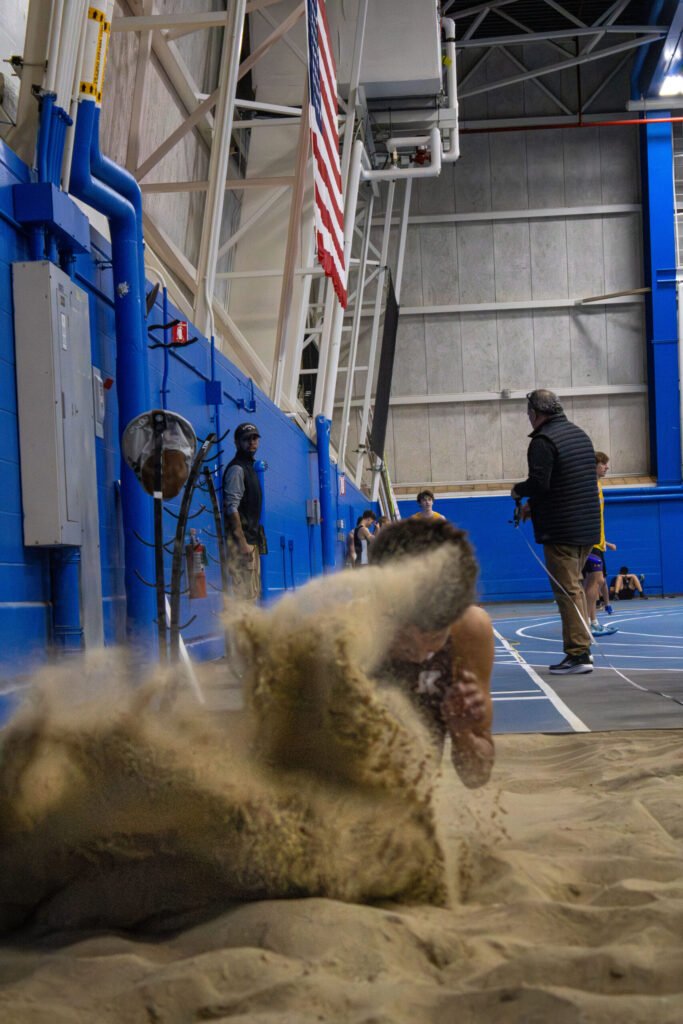
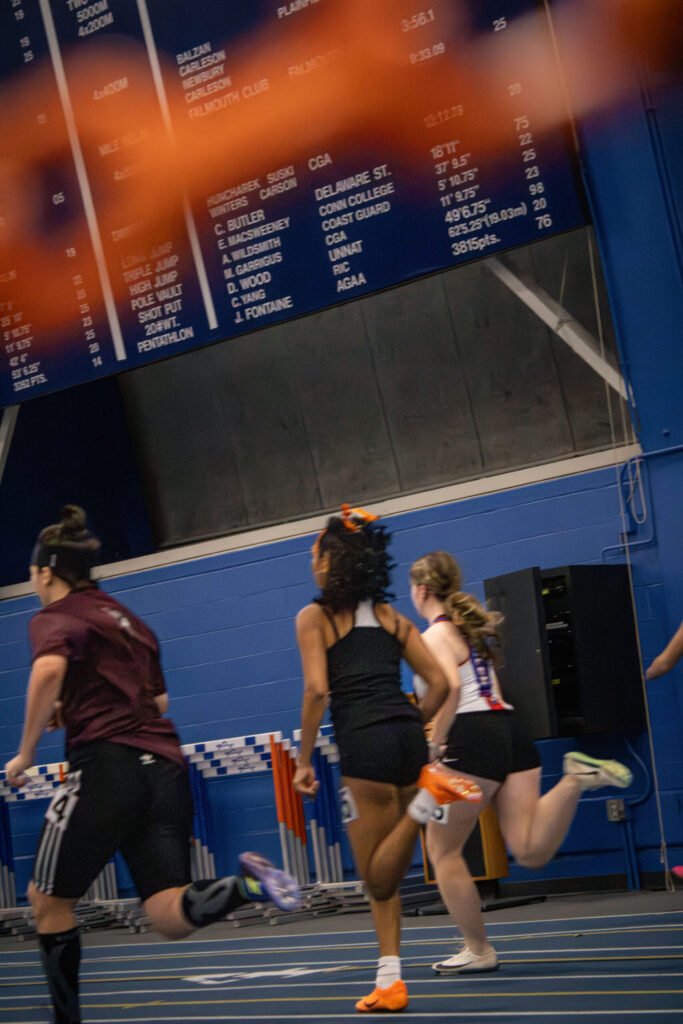
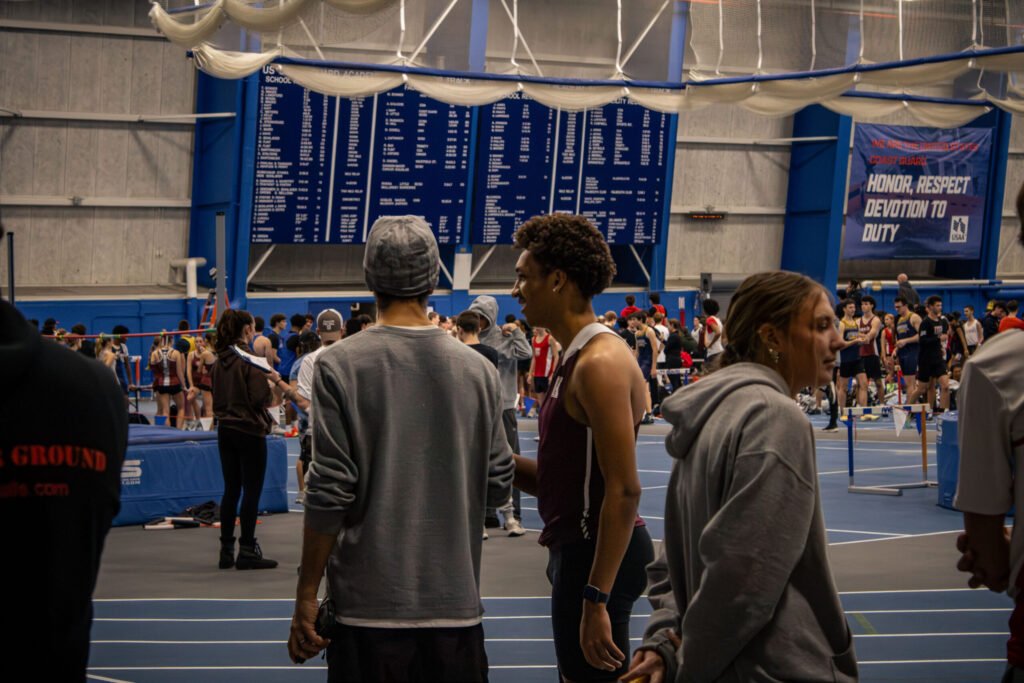
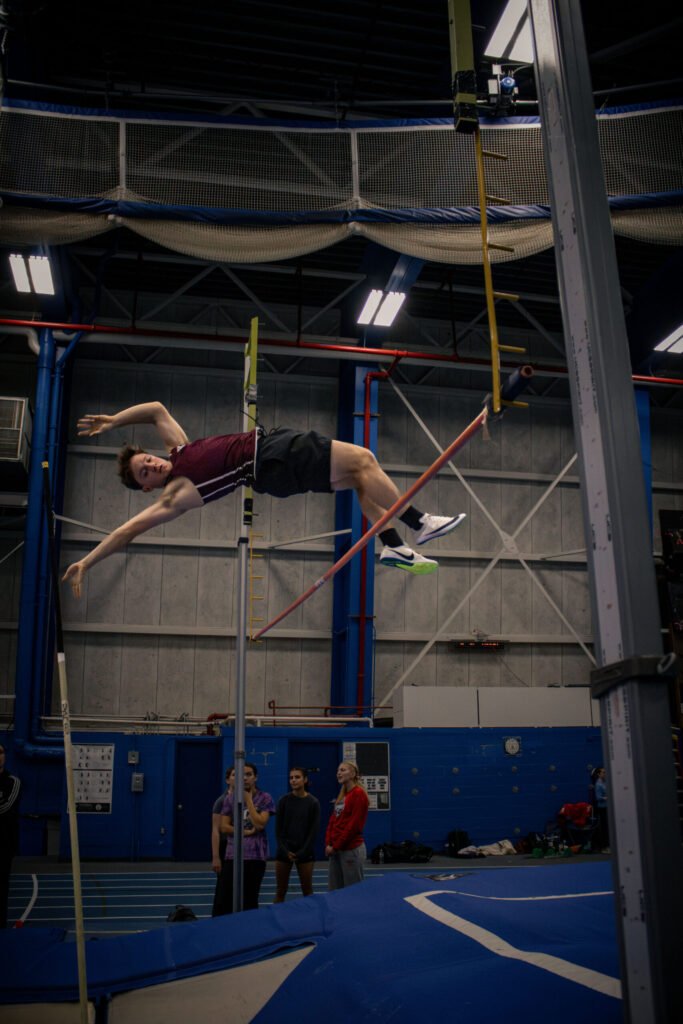
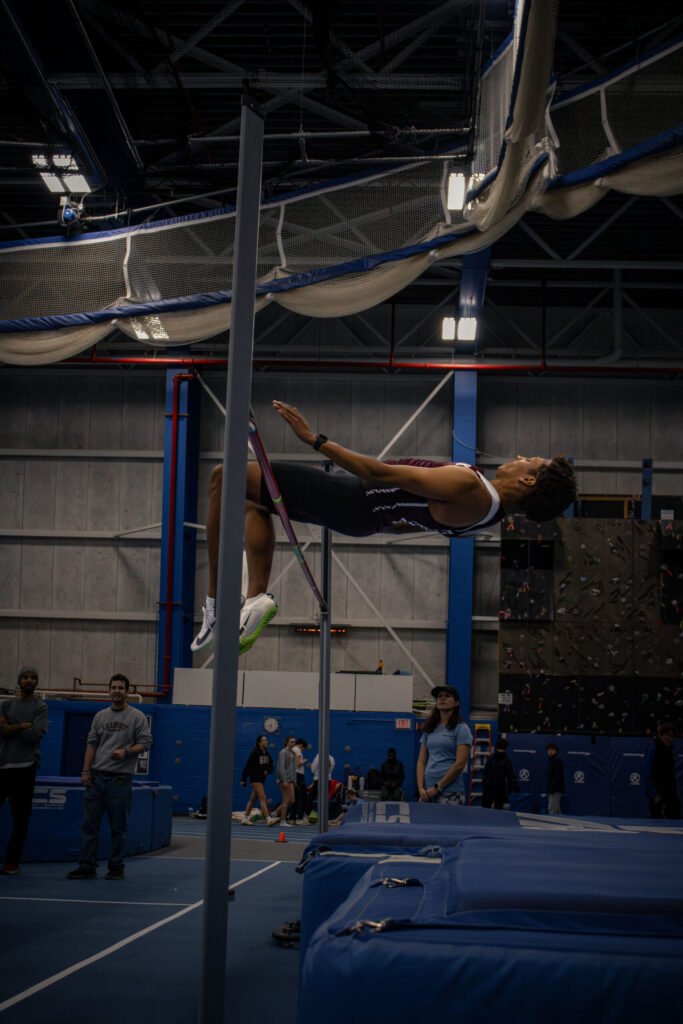
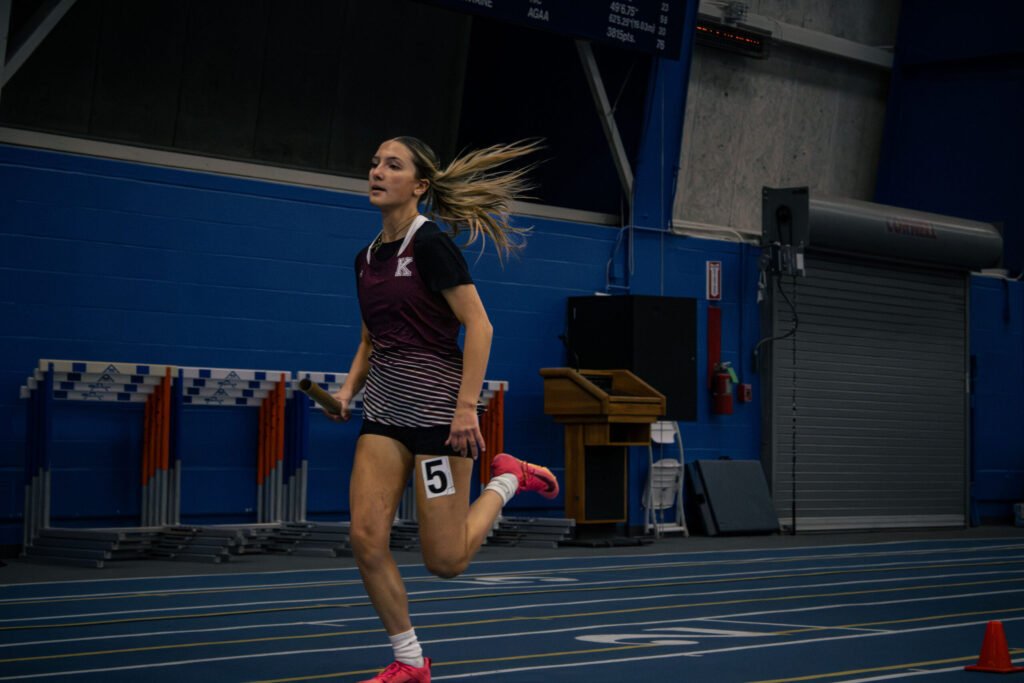
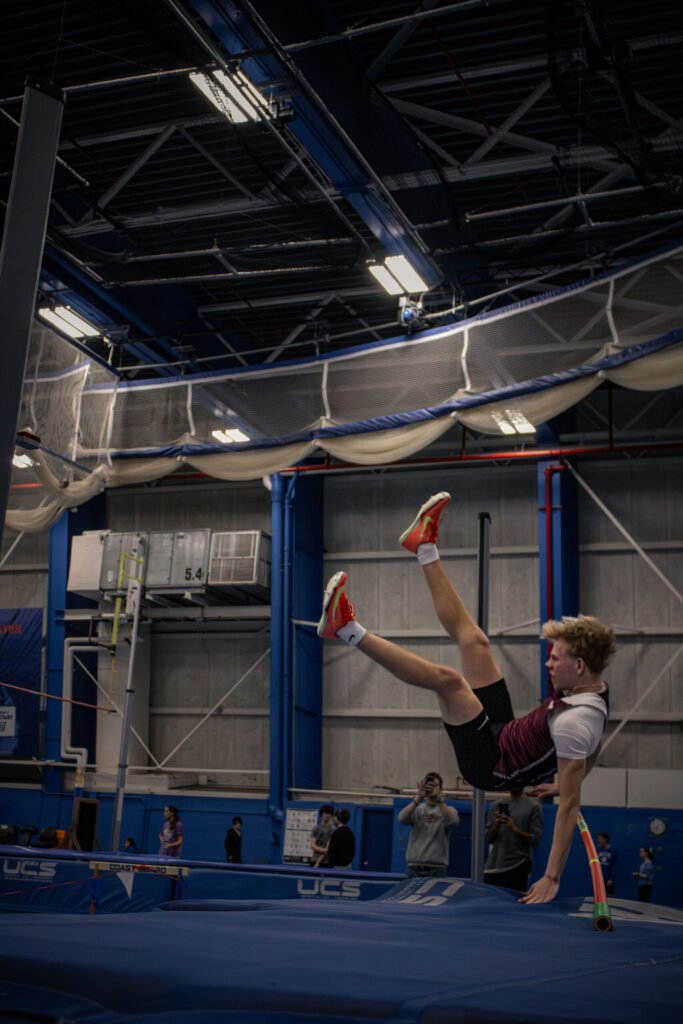
Sports Photography
One of my most recent learning experiences has been photographing my school’s track & field team and managing their social media. Quickly I learned sports photography is harder than it looks, especially indoors. Here are some things I’ve picked up on and pictures I’ve taken.
At our first meet I asked a fellow sports photographer what settings they recommended and one suggestion was to use TV mode (Shutter Priority):
- You choose the shutter speed
- The camera automatically sets the aperture
- You can adjust exposure compensation (where your light meter is set) if your photos are still too dark
This helped me:
- Freeze motion
- Brighten dark indoor shots
- Focus more on timing rather than constant setting changes

I’ve also learned the importance of:
- Holding down the shutter button to keep autofocus tracking
- Using continuous shooting mode
- Taking many photos to catch the perfect moment
Editing also plays a huge role. It helps:
- Set the mood
- Pull attention to your subject
- Reduce digital noise and busy backgrounds
Most importantly:
Some of my best shots were moments I never planned for. If you think nothing might happen, take the photo anyway. Even if you think it won’t come out well, shoot it. You’ll surprise yourself.
Sports and event photography teach the importance of patience and timing. You will miss shots. Your camera will lag. Sometimes it will freeze or stop shooting. Don’t get frustrated. Learn from it and move forward.
10+ Tips Every Beginner Photographer Should Know
Photography is a lot of trial and error. You’re going to mess up, you’re going to miss moments, and you’re going to take photos that don’t come out how you imagined. That’s normal. Every mistake will teach you something new and push you to better understand your equipment, style, and to trust your own creative visions.
Shooting Tips
- Take more photos than you think you need
- Use burst mode for action
- Try different angles and positions
- Don’t stay in one spot the whole time
- Zoom in on playback screen and check if edges of subject are in focus whenever you can
- Check your light meter before shooting
Editing Tips
- You can save a bad photo with editing, but a great base photo will always come out better
- Don’t waste time trying to save photos that aren’t worth fixing
- Aim for strong lighting and central focus first
- Editing should enhance, not rescue
How to De-Noise Multiple Photos in Photoshop
How to De-Noise Multiple Photos in Photoshop
All you have to do is Shift + select all the images you want to de-noise, then open them in Photoshop. If you’re editing RAW photos, they will open in Adobe Camera Raw. From there, scroll down to the Denoise option and apply it to all the selected images at once.
Depending on your computer, this process may take:
- A few minutes on a newer laptop
- Longer on an older one
But either way, it’s worth the wait.
Using noise reduction and batch editing saves an incredible amount of time, especially when you’re working with large sets of photos like sports or event photography. Instead of editing each photo one by one, you can apply the same adjustments across multiple images in just a few clicks.
With all the new AI tools available in editing software today, creating high-quality images has become more accessible than ever—especially for beginners. So don’t be afraid to take advantage of everything these programs offer. They’re there to make your workflow easier, faster, and more creativity possible.
Creative Mindset
- Be okay with messy photos
- Don’t delete everything—keep them to track your growth
- Mundane moments can be the most emotional
- Simple photos can be powerful
- Your device doesn’t matter as much as your eye
You don’t need the most expensive camera. Whether it’s a DSLR, mirrorless, digital, or a phone camera, the creativity comes from you. The camera is just a tool.
Final Thoughts
My journey is nowhere near finished. I want to photograph more events, explore studio photography, and capture more moments of people and everyday life. Maybe even try exploring being the model in front of the camera from time to time!? I’ve been interested in photography for years, and I’m so grateful I finally got the chance to step into it.
Photography is a simple job, but it’s also a lot of work. It takes time, commitment, patience, and love for the process. Whether you explore it as just a hobby or a career is for you to decide.
Everything I’ve shared here is only a small piece of what I’ve learned and accomplished so far. Most of it came from making mistakes, experimenting, and showing up even when I wasn’t confident in my knowledge or abilities.
I hope that in 2026, I can turn this passion into something sustainable. And I hope you come along with me, support me, and grow with me as we keep creating, learning, and becoming better versions of ourselves.
Check out some of our other hobbies and self-growth content down below, and comment a 📸 if you read this far!
Be intentional, stay curious, my fellow anomalies. Stay Anomalous. Signing off…
Amirah
Popular Posts


Follow For Updates on Future Content
Pintrest: @theanomalysjournal
Instagram / Facebook : @urgirlamirahjocelyn
Spotify: @theanomalyspodcast
Youtube: @ajamadmired
Leave a Reply